Amending the Next Refill From the Patient Profile on the Workbench
- No rows should be highlighted on the Workbench. Press Deselect All to remove highlighting from the Workbench.
- Press the Correct button.
- Press the Amend Next button.
- The Select Prescription dialogue box appears. In the Patient field, enter the patient's name in the form last name, first name. You can also search for the patient.
- Press the OK button.
- The Patient Search window appears. Any patients matching the name you entered are shown in the bottom part of the window. Highlight the patient in the search results and press the OK button.
- The Profile window appears. Highlight the prescription(s) on the patient's profile.
- Press the OK button.
- The prescription opens in Rx Detail and AMEND NEXT is displayed at the top of the window. You can change any fields that are enabled.
Note: If you change the quantity authorized (QA) for a refill, a new prescription is created. You can choose to fill the remaining refills before creating a new prescription or to cancel the remaining refills.
- Press the OK button.
- The Amend Prescription prompt asks "Do you wish to print a new file copy and label?". To print a new label set, press Yes. Press No if you do not want a label set at this time.
- If multiple prescriptions were selected for Amend Next, the next prescription will appear in Rx Detail. Repeat steps 5-7 for each prescription.
The screen returns to the Workbench and no rows will be highlighted. Each amend next prescription is added to the Completed tab with a status of Amend Next and Rx#0.
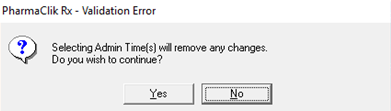
Note: If a prescription has administration times outlined in the Administration Details window and you are amending this prescription to update the Admin Time(s) outlined in Rx Detail, the Administration Details window appears with a prompt to ensure you are reviewing or making any necessary changes prior to filling.